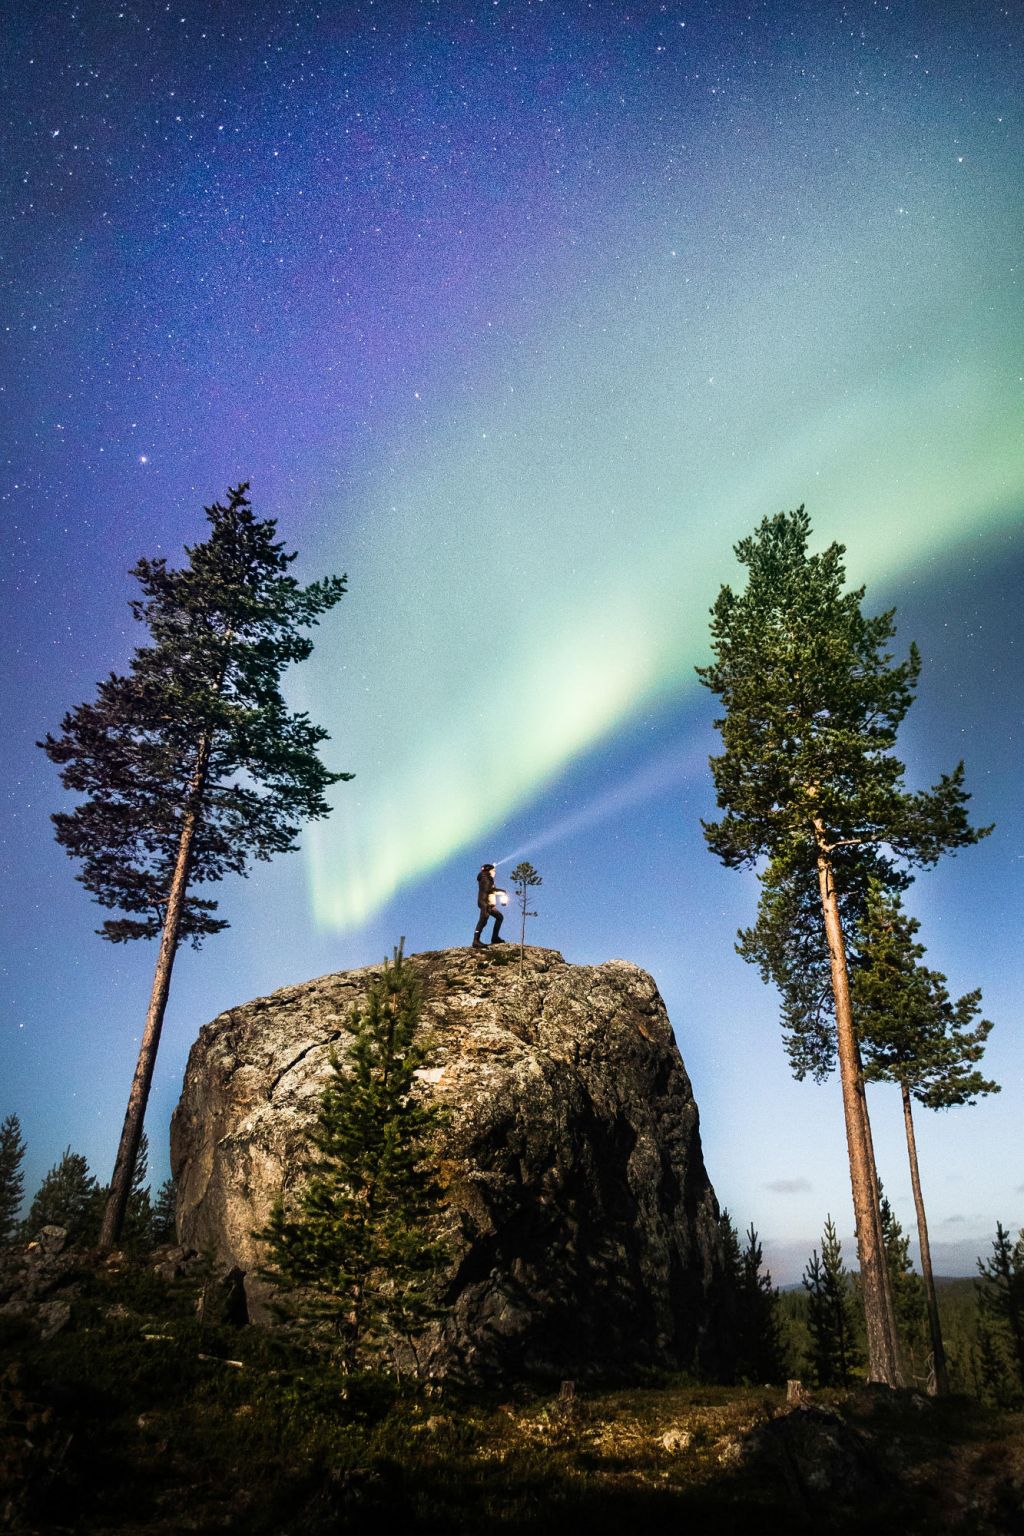
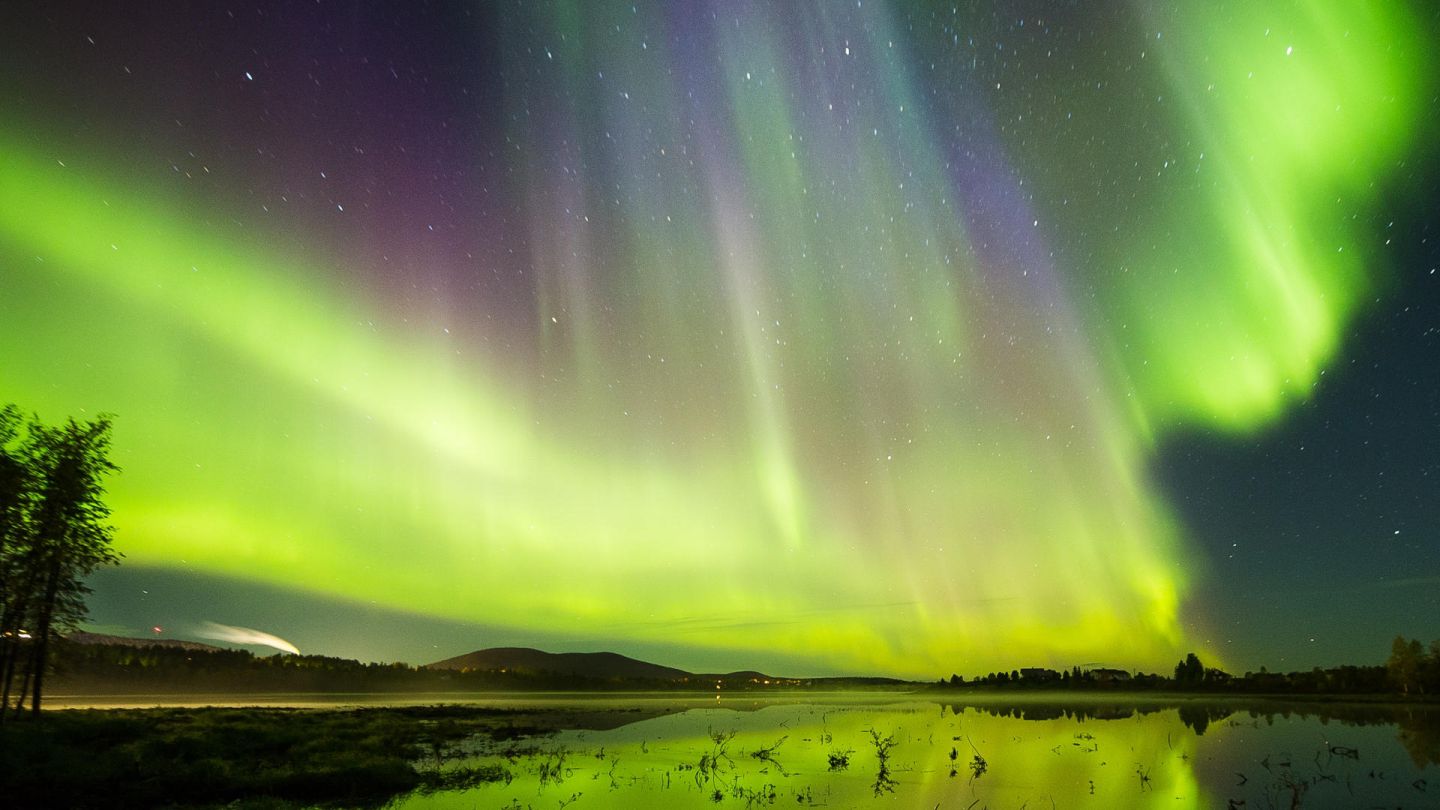
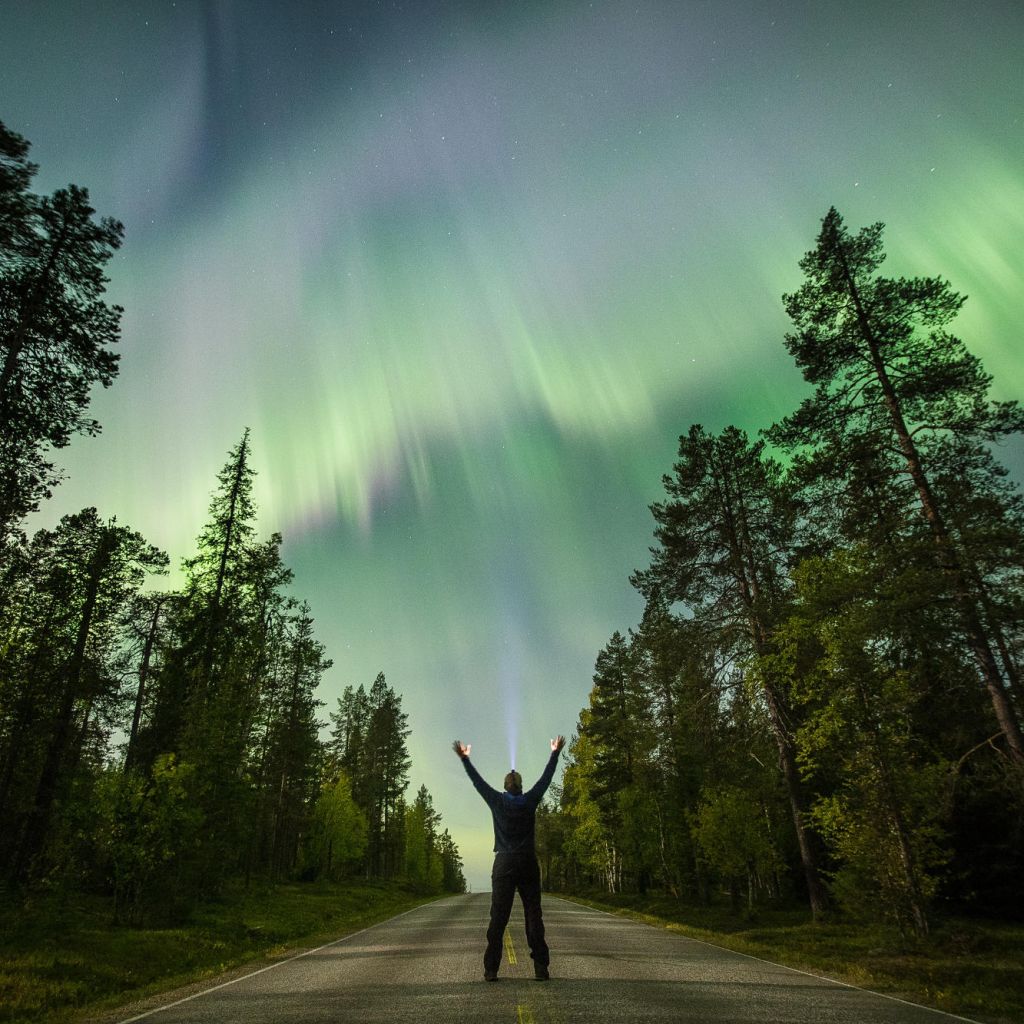
We are featuring a new guest photographer every month, with their top 3 photo picks and professional tips for filming in Lapland. Our photographer of October 2017 is Alexander Kuznetsov, a professional Aurora Hunter.
Having been born in one of the Arctic regions of Russia, I can remember seeing the Northern Lights since childhood. When I moved to Finland, the lights followed me here. On the night I turned 18, I saw some of the biggest and most beautiful auroras in my life. I was on my way to the nightclub for the first time but ended up staying in the cold, watching the celestial show. At that moment, I thought that it was greatest gift of the skies for my birthday.
I became interested in photography in my teenage years; however, I was not very consistent at it. I’ve studied marketing and media at the University of Lapland in Rovaniemi and worked as a tourist guide to finance my studies. In 2012, I got involved in tourism marketing and started my own travel magazine. That’s when I realised that I need loads of photos, and photography came back into my life.
During my first winter season, I produced only a few mediocre aurora photos. I did not really know how to take proper aurora photos, where to go for the best shots, or when to expect the Northern Lights. It took a lot of practice and learning from my mistakes.
The second season went much better, and all of a sudden I started capturing lots of Northern Lights photos. Then came the third good season, the fourth and so on. Either the auroras started to like me or I just became good at it. I became obsessed with catching the strongest auroras and making the best aurora photos. It feels like a hunt or some kind of sport to me! Nowadays, I almost never miss a good aurora borealis show! My biggest achievement with aurora photography is that my aurora videos and photos have been featured in major news outlets around the world many times.
MY TOP 3 TIPS FOR AURORA PHOTOGRAPHY
1. Know your gear
Even if you take a lot of photos during the daytime, taking photos of the Northern Lights might overwhelm you at first. When I purchased my first professional DSLR camera, I assumed that catching auroras would be a piece of cake. That somehow, the images of the Northern Lights would automagically materialize on my memory card because I have the latest gear. They did not. The aurora was playing hide-and-seek with me. One night, when I happened to witness the first good aurora, I broke my expensive camera. I did not really know how to operate it in the cold and dark environment, and I made a rookie mistake.
Tip: Go out at and practice some nocturnal photography. Take some photos of the stars, the Milky way, Meteor showers, or just some landscapes lit by the full moon. Get yourself a tripod, a cable shutter release, and preferably at least one good lens for nocturnal photography. Find the limits of your camera in terms of ISO and noise levels. Learn how to focus properly at night with your lens. When you face the Northern Lights, you will be prepared!
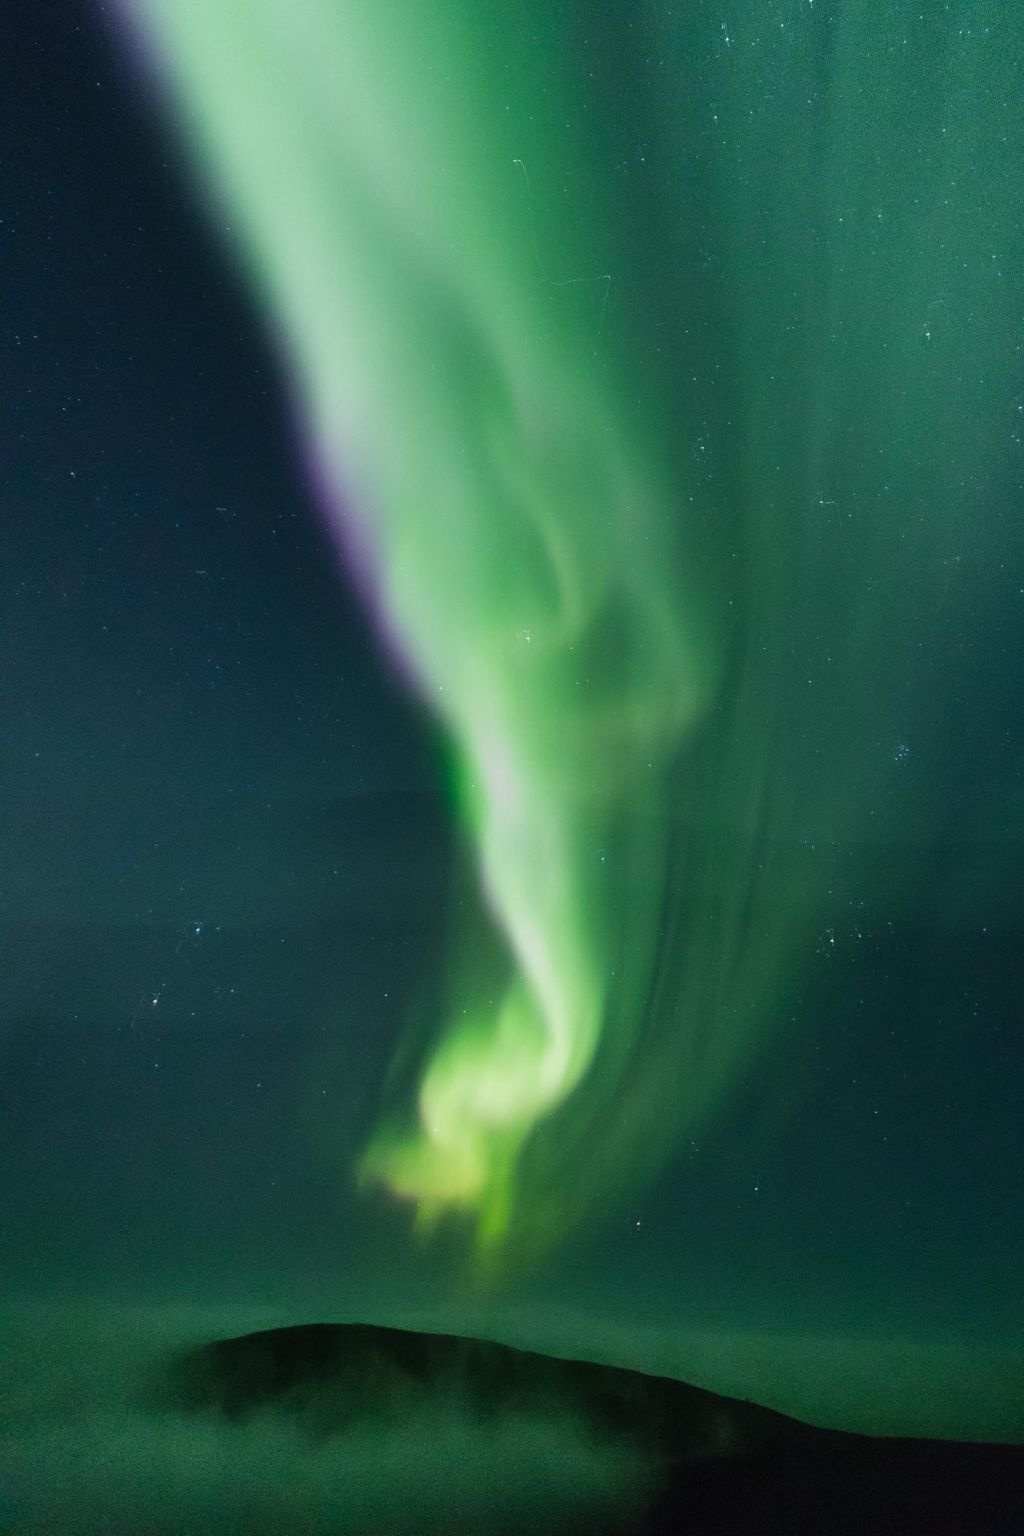
2. Find a good spot for auroras
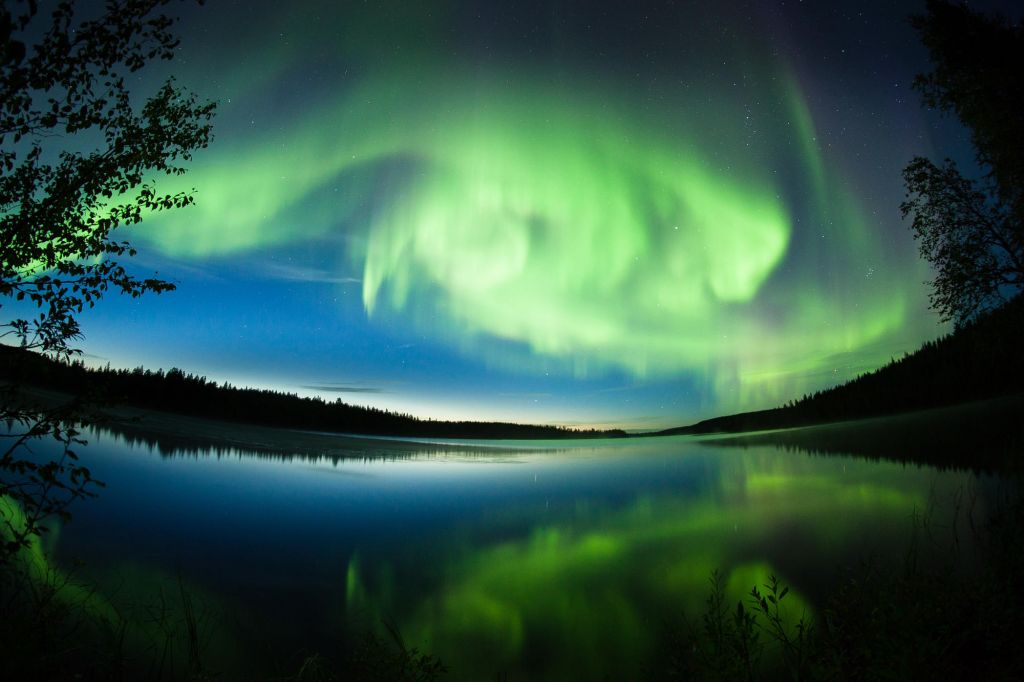
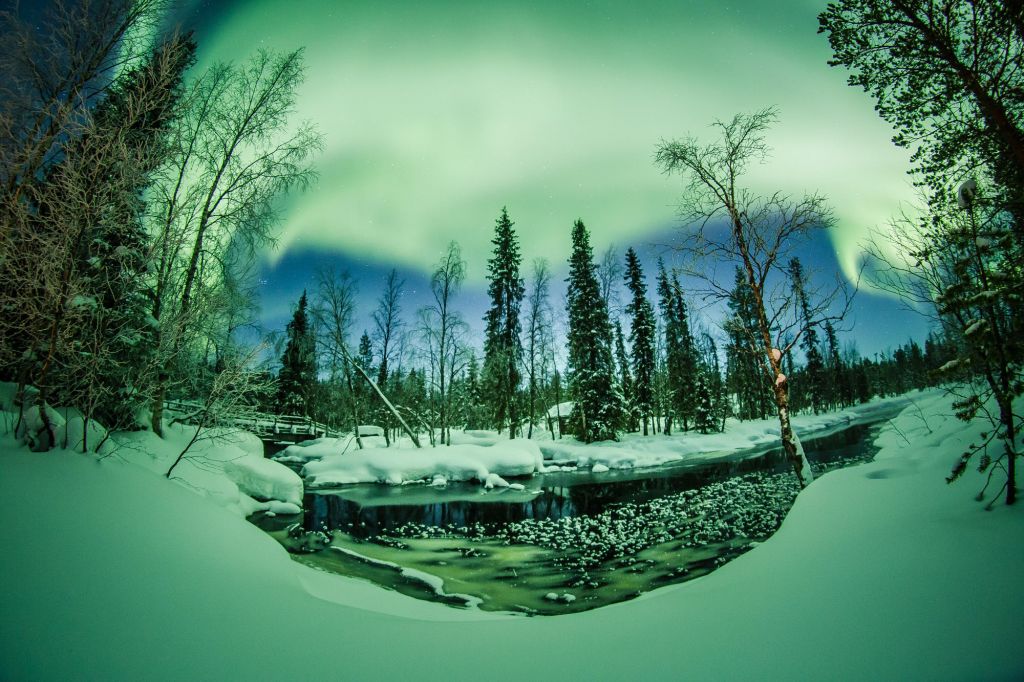
Making a good aurora photo often involves a good view or landscape. Sometimes, the other elements in your image might play an even bigger role, and the Northern Lights are just the final touch. In autumn, before the frosts come, I often visit the shores of lakes and rivers for Northern Lights photos. That way, I can capture the auroras with their beautiful reflections in the water. In winter, I enjoy getting into the middle of a snowy forest to capture the impressive features of Lapland nature, together with the Northern Lights. Needless to say, I prefer locations away from the city lights, but taking photos with the landmarks of the city is fun as well. Very rarely have I taken a good Aurora photo in a completely new spot, or when I simply was not ready to take a shot at the right moment.
Tip: good aurora photos requires knowledge of the area or location scouting. See the potential locations on the map beforehand and try to visit them in the daytime first. That way, you will get familiar with the features of the area. You will also get to the place much faster at night and reduce the risk of getting lost. Nature looks so different at night!
3. Have patience and you will be rewarded
Even if you’ve nailed the first 2 steps, sometimes seeing auroras requires a little bit of waiting. Too often I see tourists and hobby photographers showing up on the spot only to leave in 15 minutes. Understandable, as it can get chilly waiting out there in the cold! Sometimes, the auroras can appear very early in the evening, even at 8–9PM, but sometimes very late, after 2AM. A classic aurora hunter’s misfortune is that you wait for hours, decide to pack your gear and start walking away, and then the auroras strike with full force.
Tip: Wait for it! Take a thermos bottle, some snacks, and a battery pack for your phone with you. Dress warmly, and take good care, especially of your legs. If they are cold, it does not help if you are wearing 10 layers. A good idea is to have a foldable insulation pad that will protect you from the cold ground. Be alert! Often, the best Northern Lights of the night are very fast. They might last only a few minutes, 10–15 min max. These fast auroras can also be much brighter than the rest, so watch out for overexposing. Be cool! It is better to take 1 or 2 good images than several mediocre ones.
Extra tip:
Don’t just take “a photo” of the Northern Lights. Think of the ways that you can make it even better. Tell a story. Experiment with light, introduce new elements, put your friends or yourself into the frame. Create a Northern Lights image unlike any you’ve ever seen before.
